
I don’t really make New Year’s resolutions. When I decide I want to do something, I just do it, whether it’s January or July. That said, I do think it can be healthy to look ahead at the coming year as a whole and think of some things you’d like to accomplish. A goal I loosely decided upon this year is to conquer my "fear" of yeast breads. It’s not that I’m literally scared to make them; in fact, I’m not even really afraid that I’ll mess them up. It’s just the time factor. It feels like they take for.ev.er, and when it comes to baked goods, I’m more of an instant gratification type of girl (many a burned finger or tongue can attest to this). I did make pizza dough at home once, but other than that, I’ve avoided anything yeasted.
The time had come for that to change. As I already mentioned, I love the Urban Vegan’s still-newish cookbook, and I chose one of Dynise’s recipes to get me on the yeast-bread-bandwagon. With the necessary advanced planning, it was just as easy as she promised, and even more delicious than I could have imagined.
3 Tbsp olive oil
3 cloves garlic, minced
1 small onion, minced
3-4 cups whole grain flour
1 1/2 tsp salt
1 cup pitted black olives
3 Tbsp dried rosemary, crushed
2 tsp yeast
1-1 1/2 cups warm water
In a small pan, heat 1 Tbsp of the olive oil over medium heat. Sauté the garlic and onion until soft, about 5 minutes. Let cool.
Finely chop the olives and set aside with the onion and garlic mixture.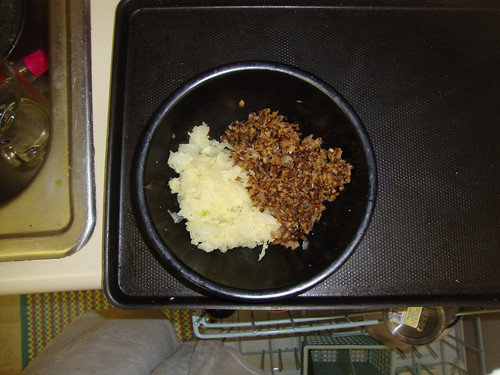
In the bowl of a stand mixer, combine 3 cups flour (I used 1 cup spelt flour and 2 cups whole wheat pastry flour) with the salt, olives, sautéed onion and garlic, and rosemary.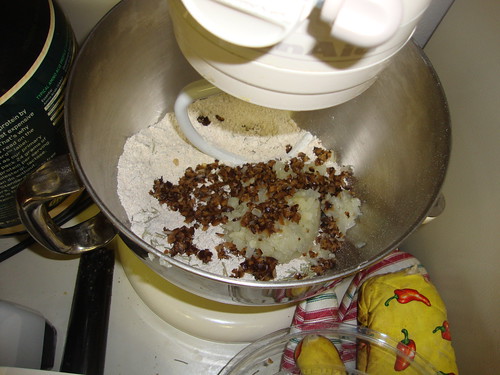
Stir in the yeast, then add the water (I used just over a cup to start with; you may need more). Add more flour as needed, in 1/4 cup increments (I only needed just over 1/4 cup, but this can vary greatly). Knead until smooth, using the mixer’s bread hook. Spray the dough lightly with cooking spray and cover the bowl with plastic wrap.
Let rise in a warm place until doubled in size, about 1 hour.
Punch down the dough, then knead on a Silpat or a floured surface for about 5 minutes. Form into a boule (a round loaf) and place on a greased cookie sheet.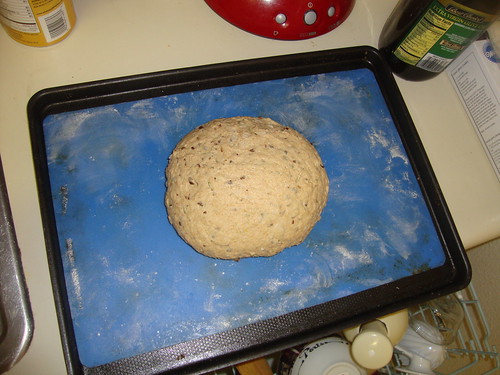
Let rise for half an hour. Meanwhile, preheat the oven to 400 degrees. Brush the loaf with the remaining 2 Tbsp olive oil. I tried slicing an X in the top of my bread, like those fancy artisan loaves in the store, and it sort-of worked.
Bake for 25 to 30 minutes, or until the loaf is browned and sounds hollow when tapped. Cool completely (seriously, don’t skimp) on a wire rack before slicing.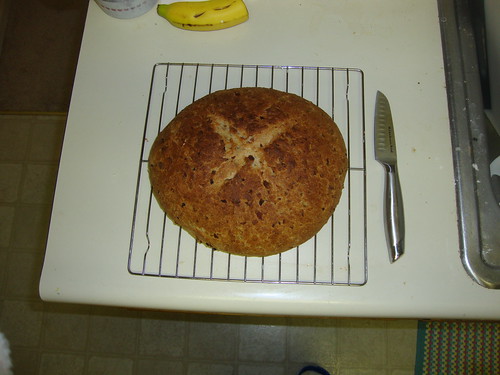
I am not kidding, this stuff is unbelievable! The savory duet of onion and garlic provides a beautiful accompaniment to the depth and heartiness of the yeast and rosemary. There are lots of olives in there, yet the bread has no briny or overly salty taste—just great olive flavor. In fact, I sneakily fed pieces to two avowed olive-haters, and both of them LOVED it (one even called it the best bread he’s ever tasted!). If I, a yeast bread novice, can turn out something as stupendous as this, I can only dream of what mouthwatering breads I’ll bake in the future.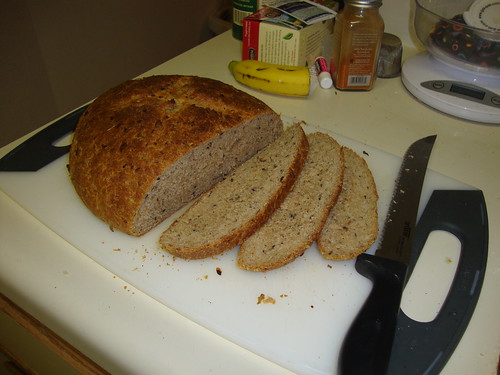
Yield: 1 loaf, 16 large slices. Per slice: 130 calories, 3.7g fat (trace sat), 22.2g carbs, 4g fiber, 3.3g protein.
If you like this, you might also like...
Tuscan white bean dip
Whole wheat beer bread
Indian spice hummus


I have never made anything with yeast, and while partly that's to do with the risk + time factors, it's also because I'm just not that into bread and doughy foods. However, this is one of the first times I've actually wanted to make a yeasted creation - I love olive bread and, back home, our rosemary bush is constantly trying to take over our house...
ReplyDeleteMight I put in a request for you to come up with some sort of peanut-butter bread? You're so good at the peanut butter sweets :D
Hannah—Actually, I have a pretty rockin peanut butter banana bread (click here) that I make on a fairly regular basis. As for a just-plain-PB bread, I don't yet have one in my arsenal...but I will add that to my to-make list!
ReplyDeletePS—Let me know if you give this one a try when you get back home! You won't be sorry :]
That looks great! Good job! I've always been a bit "afraid" of making bread too...I think I could do this though. I don't have a big mixer like that though :/ Can't wait to see what other breads you attempt!
ReplyDeleteKati—You can knead it by hand, it would just take a little more time and effort. You'd get a great forearm workout, though! :P
ReplyDeleteTeehee, I already have that one bookmarked. I will absolutely make it, gobble it up, and report back once I'm home!
ReplyDeletethe secret to get the bread to look like those artisan loaves is to dust the top with flour to make it white, then take your sharpest knife and make slits in the top, about 1/2 cm deep. As the bread rises and bakes, it will look like the look you are going for.
ReplyDelete